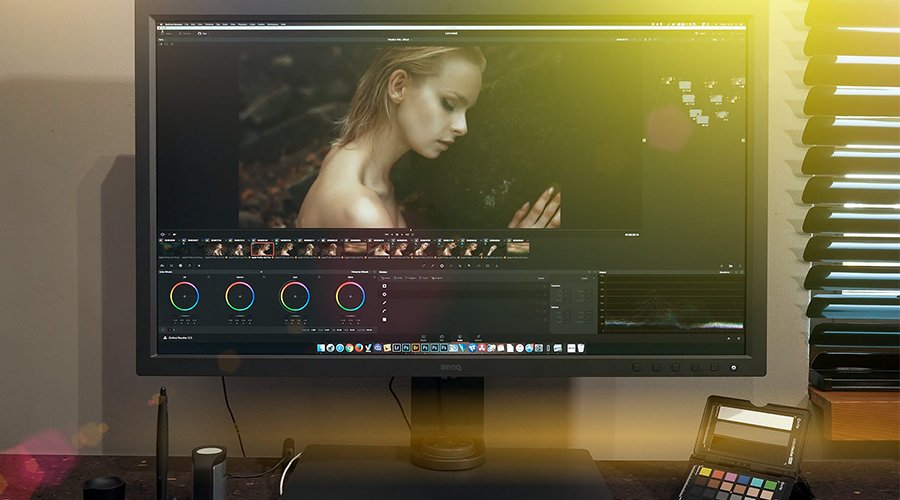
Now that the calibration process is underway, make sure not to alter the lighting in the room, don’t jump to another screen etc; just sit back and let the process continue uninterrupted. Oh and if your monitor has a monitor shade with the hatch at the top to drop the calibrator through, close it so that no light comes through onto the screen.
And that’s pretty much it. The process will take a few minutes to work through and at the end of it you’ll see a report show up on the screen giving the results of the calibration and what settings were achieved. You can at this time then verify the calibration if you like.
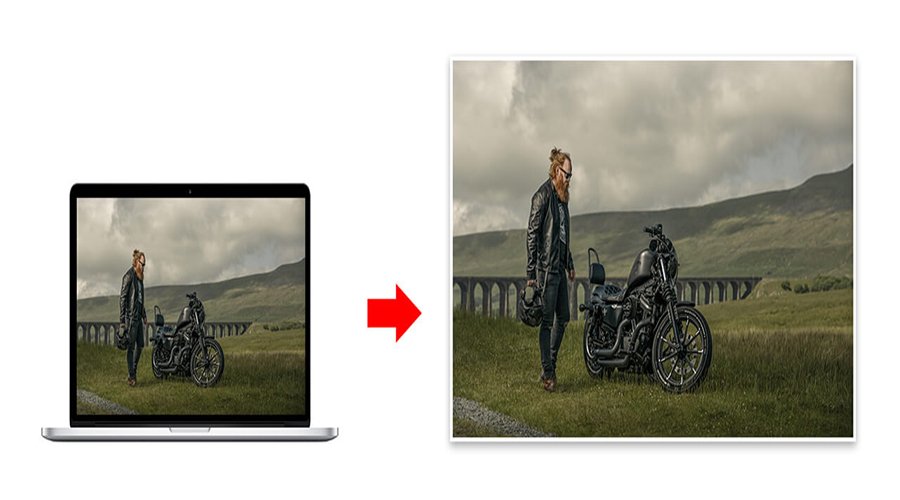
Now that you’ve gone through the calibration, the only issues you may encounter when printing is the brightness of the print compared to what you see on screen so we’ll cover this in the next post; I’ll also record a couple of videos going through the process.
In the meantime if you have any questions please feel free to make use of the comments section below and I’ll get back to you asap but please be mindful that I am in no way professing to be a colour management expert (far from it) however I do know through advice, lots of reading, lots of video watching and lots of trial and error, what I find works and gives great, consistent results.